How to Create Transparent Paint and Paint 3D Backgrounds
Summary: This tutorial is a detailed guide on how to make a transparent background in paint and paint 3D and also an online photo editor for easier and more comprehensive operation.
Make Transparent Background Now
Microsoft Paint is usually used for basic editing such as cropping, rotating, and resizing images, and sometimes even for creating new drawings. Its simple interface makes it the software of choice for any simple editing task, and sometimes even for complex ones.
In many cases, users may want to use images with transparent backgrounds. Images with transparent backgrounds can easily be stacked on top of each other. In this case, the Transparency selection in MS Paint works well. The Transparency selection can be used for minor edits, but it also doesn’t work very well for really high-quality images. With this feature, the user can select a part of the picture and a specific color – and make the color in the picture transparent.
In this tutorial, we will give you detailed instructions on how to use paint and paint 3d to get a transparent background image. Please Read on.
How to Make a Transparent Background in Paint?
Paint has a “Transparent Selection” option in the “Selection” drop-down menu, which claims to make the background color of the selected area of the image transparent or opaque. However, this “Transparent Selection” option will only give you a white background for the selected portion of the image, not transparency.
Here are the detailed steps on how to make transparent background in Paint:
- Open the image in Paint.
- Select “Transparent Selection” under the selection options in the Image section.
- Now click the down arrow under “Select” again, and then click “Free Format”.
- Click and drag your mouse pointer to select the element of the image you want to leave (the unselected part will become transparent).
- Once selected, you will see that only the selected part is cropped/shifted. Now, press the CTRL + X shortcut to cut the selection.
- Press the CTRL + N shortcut to open a new drawing window. If asked to save your current work, click Don’t Save.
- In the new Draw window, open another image as in step 1 above and press CTRL + V to paste the selection onto the background.
- Now, you can get a transparent background image.
How to Make a Transparent Background in Paint 3D
Paint 3D was initially offered as a pre-installed program for Windows 10. However, that decision was reversed and it is now no longer included in the clean install of Windows 10/11. You can still install Paint 3D from the Microsoft Store.
The following is the step-by-step guide on how to make a transparent background in Paint 3D:
- Right-click the image, go to Open With and click Paint 3D.
- Click Magic Select and drag the bounding box around the object you want to cut out of the original image.
- Click Next and Done, then the selected object will pop up and move it aside.
- Select all and you can see the rectangular box, then right-click it and click Delete.
- Move the object you cut out back onto the canvas.
- Click Crop to reduce the size of the canvas around the object and click Done.
- Open Menu at the top-right corner and click Save as and choose Image and then click PNG type.
- Make sure to tick the Transparent checkbox and click Save.
Also, you can insert the object you cut out in another image, right-click the destination image, go to Open with and click Paint 3D. Drag the cut-out object and place it on the image. Move it around and resize it as necessary.https://www.youtube.com/embed/NUUjfAHF5Q0
How to Make a Transparent Background With an Online Photo Editor
Paint is the image editor included in Windows. Most photographers probably ignore MS Paint or the new Paint 3D to edit photos because their tools are relatively limited compared to other professional photo editors.
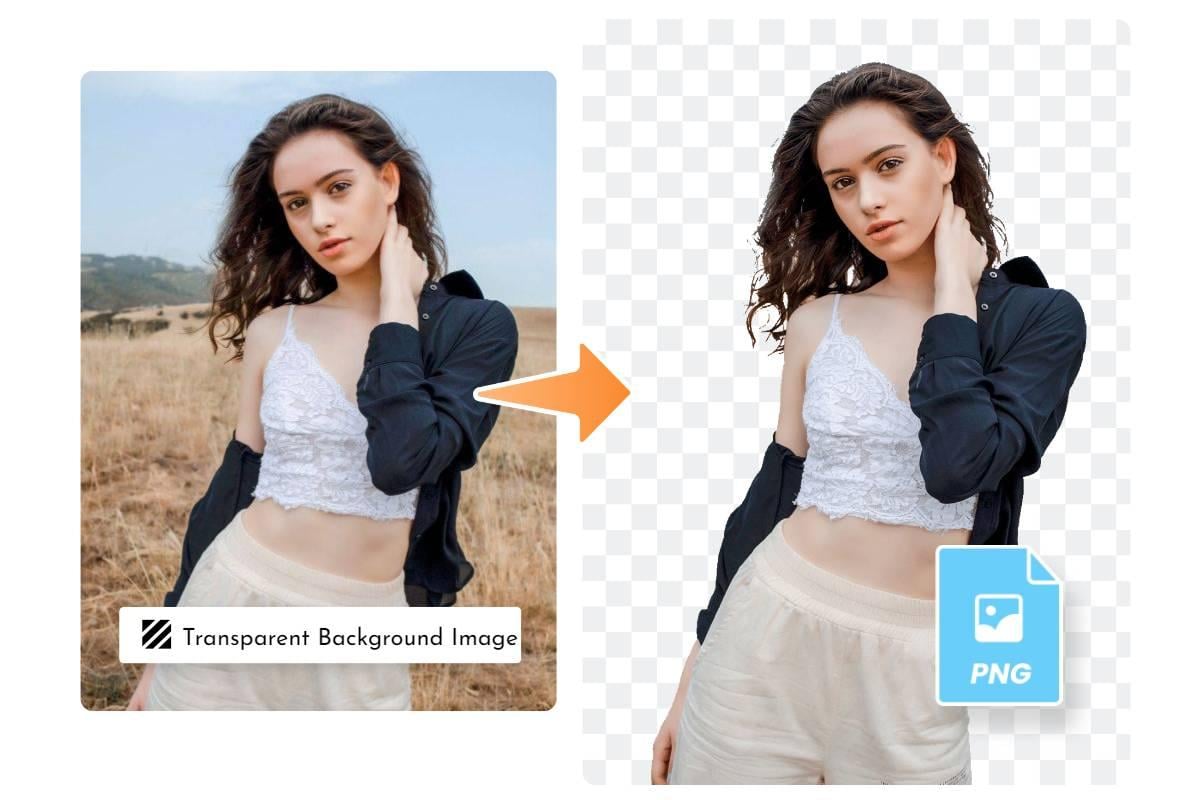
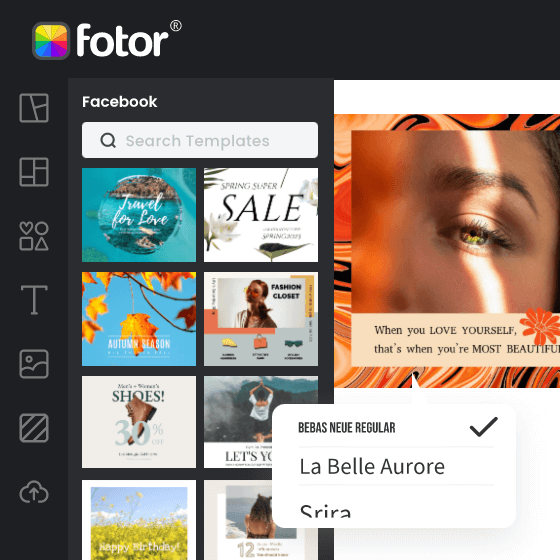
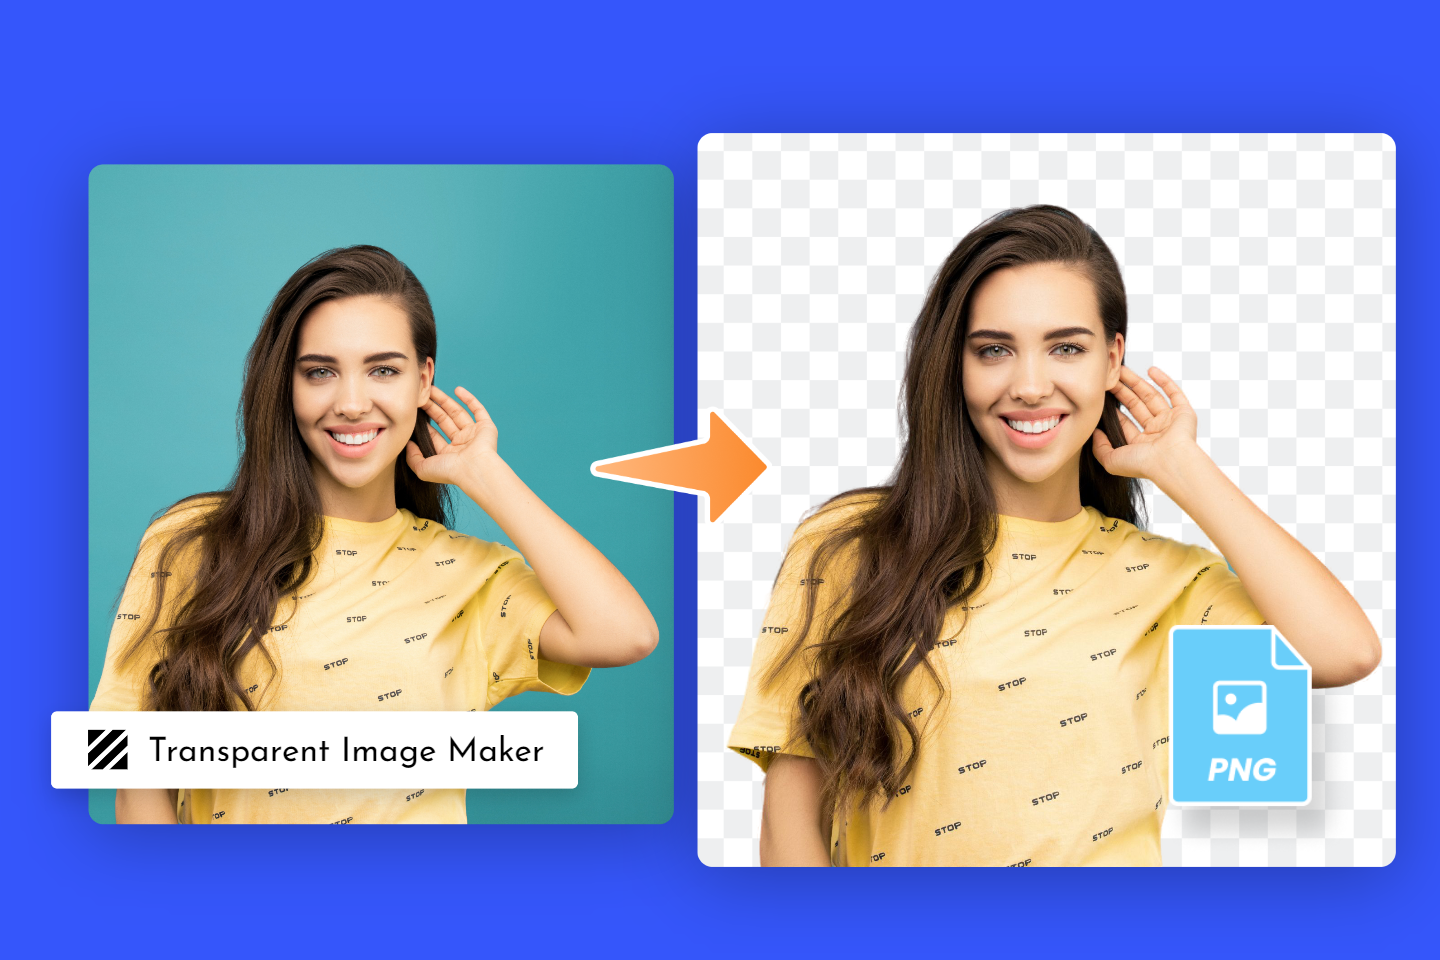
Here, we recommend Fotor’s online background remover. It’s a great way to remove parts of your photos that you want to use in other templates or other designs. Based on powerful AI technology, Fotor can remove image backgrounds with one click, and in just a few seconds, you can get a photo with a transparent background. Almost all types of images can be processed by Fotor – portraits, pets, cars, real estate, logos, text, and more. You don’t need to spend time manually creating clipping paths in Photoshop to get the job done anymore.
Fotor
Powerful AI-driven editing tools like background remover, AI enlarger, object remover, one-tab skin retouch, AI art effects, etc.
Over 100,000+ ready-to-use templates and creative content for graphic design and photo collages.
Millions of HD stock photos for personal and commercial use.
The following are the detailed steps on how to make a transparent background in Fotor:
- Open Fotor’s background remover and upload your picture.
- Fotor will automatically convert your image into a transparent PNG within seconds. No manual editing is needed at all!
- Click on the download icon to download your transparent PNG picture in high quality.
Conclusion
In this article, we introduced three effective ways how to make transparent backgrounds, including Paint, Paint 3D, and online photo editor Fotor. The step-by-step guide will certainly help you from getting the transparent background picture. Hope this tutorial will be much helpful to you!
Source – https://www.fotor.com/blog/how-to-make-transparent-background-in-paint/

